
I have been trying to wish back summer, but October is upon us, so I better start facing the facts! A lot of you enjoyed my 4th of July nail art tutorial so I figured I would do an easy nail art tutorial for all different seasons and holidays. What do you think?!

Tonight I will have an easy-peasy Fall nail art tutorial for you using the Saran Wrap Method. I promise it is really easy and anyone can do this!
Things you need:
1. A solid base color. I chose Julep Sylvia but any dark polish will work! Think navy blue or deep magenta or vampy purple!
2. A gold metallic polish for dabbing. I used Color Show Bold Gold. Gold screams Fall to me!
3. Saran Wrap
4. A Paper plate
5. A base (optional) and top coat. I use a SH Base coat and NYC In a NY Minute for a top coat. You can skip the base coat, but the top coat really smooths things out, so I recommend using one.
There are 2 ways to doing the saran wrap method. I like this way the best because it allows for more control over the polish that is dabbed on.
First, prep your saran wrap! I like to pull out a piece the size of a sheet of paper and then I cut it into smaller pieces. You will need at least 2-4 pieces, about the size of your hand or palm.

Put the pieces of saran wrap aside and paint your nails with a solid base color.
I used a dark purple.

Now...the hardest part to this entire tutorial comes right after this part...
WAIT FOR IT TO DRY.
I'm serious.
Wait.
Patience, young grasshopper, patience.
Once your nails are dry you can get to the good part! Set up the rest of your materials! This is the part when you will need your paper plate, gold polish and saran wrap.
Start by crinkling your saran wrap up into a ball.
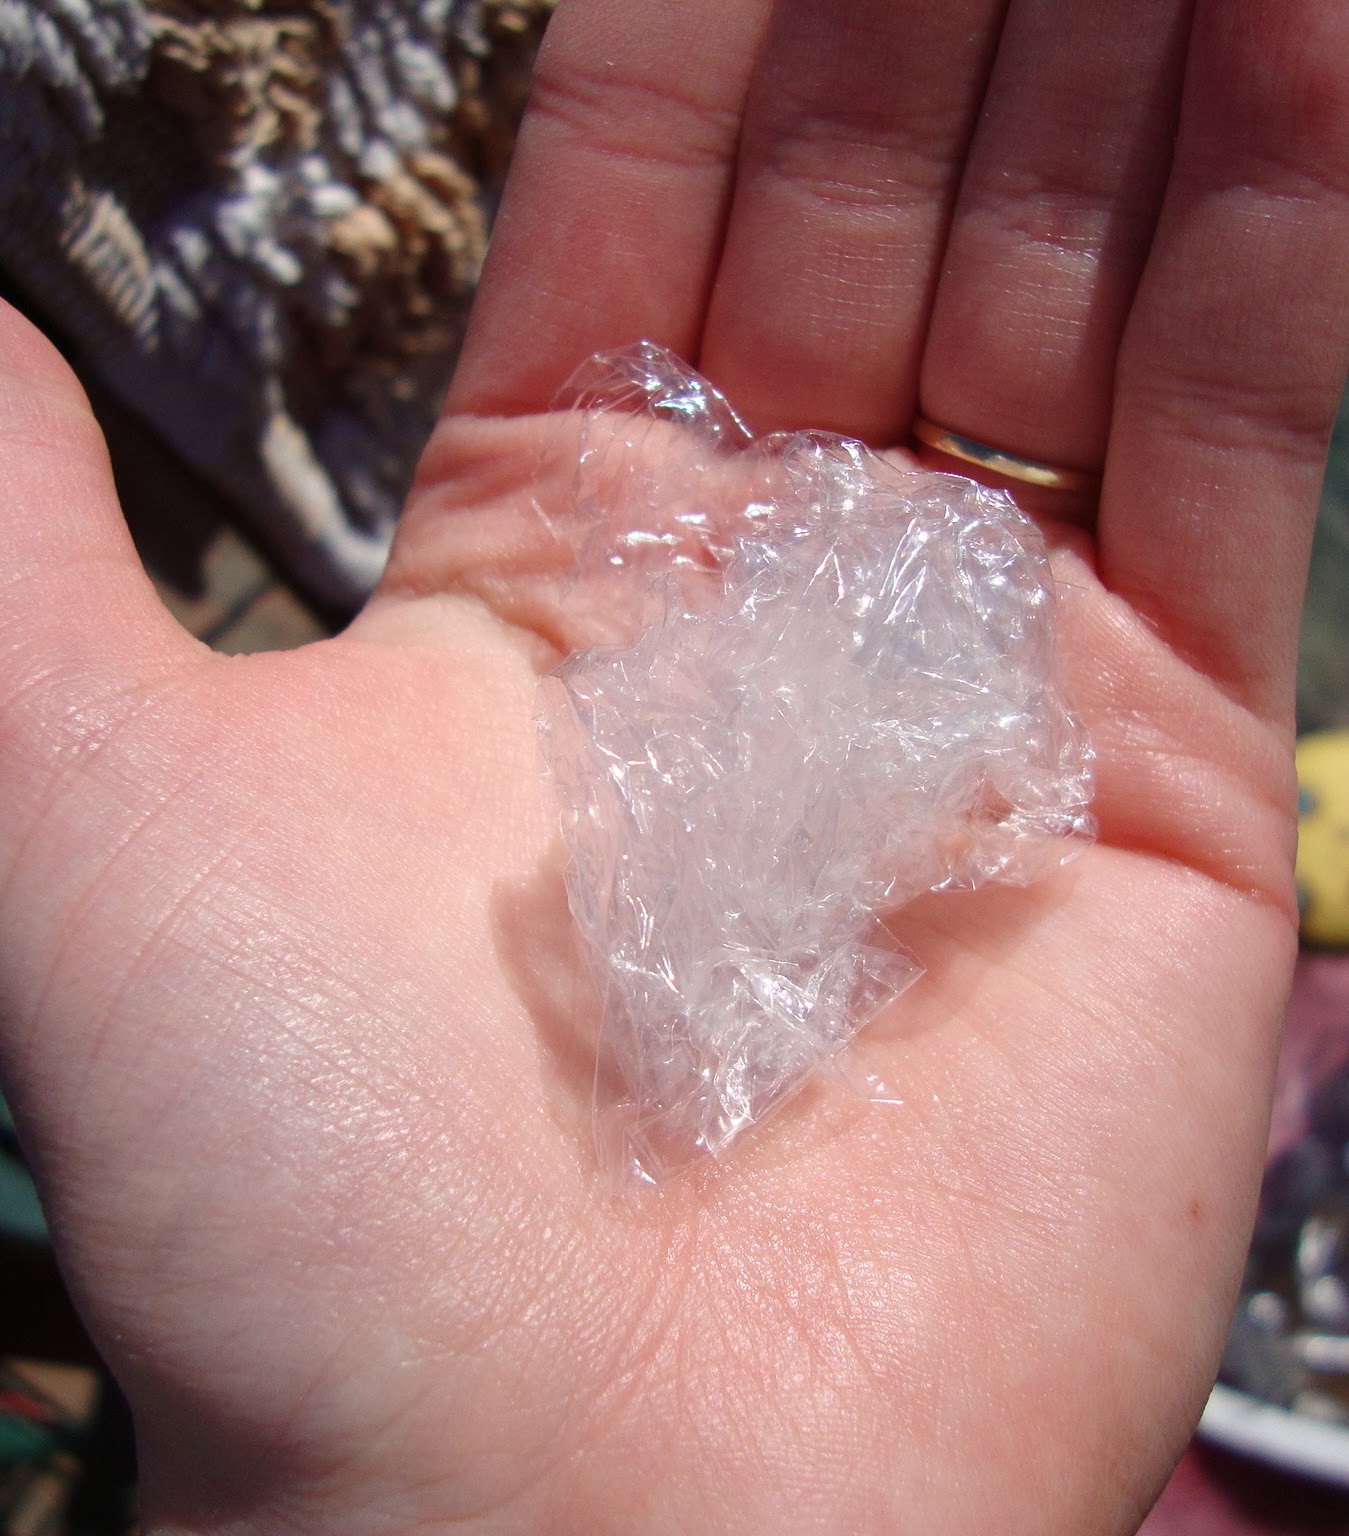
Roll it up into a nice little ball, and then drip some gold polish onto your paper plate.

Once you drip the polish onto the paper plate, make sure to hold your saran wrap ball tightly between 2 fingers.

Depending on how tightly you wrapped the ball, will depend on how big the splotches are on your nails. I like to wrap mine up a little bit tighter to get more precise splotches.

Once you have decided on how you want to hold your saran wrap ball, dip it into the polish on the paper plate.

I like to stamp my saran wrap ball around the plate a little bit because I don't want a huge glob on polish on my nail. I want to make it look more delicate-like. I drew an arrow to one of my ideal splotches. Once I see this, I dab onto my nail.
Once you stamped your saran wrap around a bit, dab it directly onto your nail.

Dab onto each nail a couple of times until you are satisfied with the look! Sometimes you can get a couple of dabs before you have to dip the ball into the polish again. And if you end out not liking the splotch, don't be afraid to shift the saran wrap around and try another side of the ball. When the saran wrap gets too covered in polish, crinkle up another one of your pieces and start a new ball!

Seal the design in with a top coat and you have a perfect Fall manicure with a cool technique! I love using this technique and have used it over and over with a variety of different shades. Don't be afraid to experiment!
Will you try this? Have you ever used items commonly found around the house for nail art? Tell me in the comments -- I will definitely be trying out your tips & tricks!
Thats a cool technique that I've been wanting to try out!! Cute combo!
ReplyDeleteThanks! I hope the tutorial helped you in creating your own Fall mani!
DeleteThe colors are so pretty and looks awesome! I'm surprised at how well I've not only accepted summer ending but been excited over autumn. I'm sure I'll change my mind once it gets cold though. haha
ReplyDeleteThanks! And I know what you mean. I am a little happy for cooler weather but as soon as it snows, I am going to be so grumpy!
Deletethanks for the tutorial! :) you make this sound so easy I can't wait to try!
ReplyDeleteYou are welcome! I hope you create an awesome fall masterpiece!
Delete