Showing posts with label Tutorials. Show all posts

Tuesday, February 11, 2014

Sweet Valentine's Day Stripes: A Tutorial

Tips on Tuesday is back with an easy Valentine's Day nail art tutorial!
For those of you that regularly follow, you know that I am dedicated to bringing you easy nail art tips, tricks and techniques. Tonight is no different! We will be adding a small flare to a technique I already showed you in this Color Blocking Tape Mani HERE.


We are going to create the look above, similar to the color block I showed you a few months ago, but we are going to use 3 colors, instead of just 2.
Things you will need:
1. 3 Valentine's Day polishes: Think white, pink, red and mint greens! Even yellow will go nicely!
2. Tape (scotch tape or masking tape)
3. Patience


Start off by painting you accent nail with the lightest of the 3 colors you chose. My lightest shade was white, so I painted 1 coat of white onto my accent nail.
While you wait for your accent nail to dry, use one of the other 2 shades to paint 
2 coats onto the rest of your nails.
I used A England Briar Rose, a lovely deep reddish magenta.

Note: You can use 2 coats of white (or your lightest polish) on your accent nail if you want, but I wanted it to dry fast, so I only used 1 coat.


Once your accent nail is completely dry pull out 2 pieces of tape. 
Your nail must be completely dry or the tape will pull the polish up!
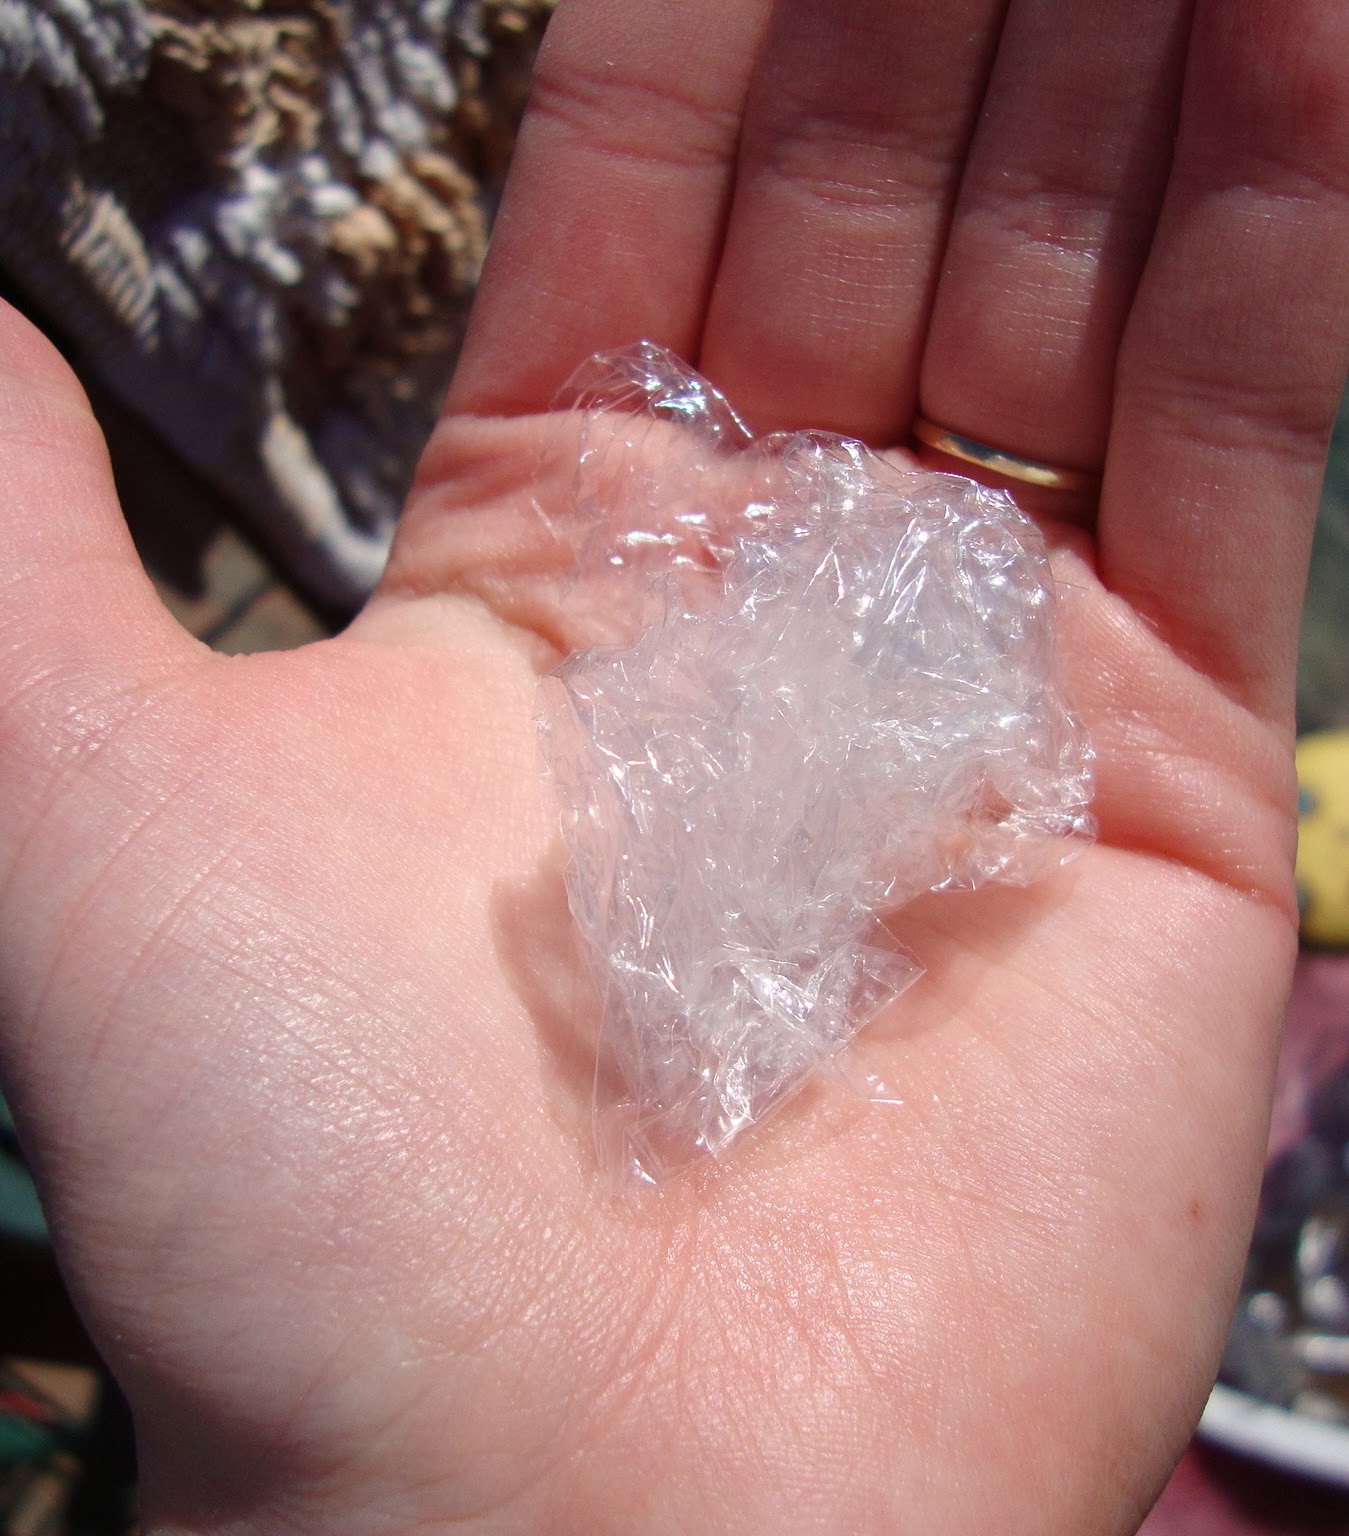
I like to stick the tape to the palm of my hand a few times to make it less sticky 
(and less likely to pull your polish)!
Then I covered the bottom bit and the top bit of my nail with the pieces of tape, leaving a single strip of white polish in the center.
Gently press the tape down to your nail so no polish can seep under the tape line.


I then used the second lightest shade of the 2 polishes I chose to paint in the center. I used Zoya Sweet a cute bubblegum pink. I painted onto the tape a bit to make sure I covered the enter center section.
I used just one coat for full coverage. Don't put it on too thick, because you want it to dry in a reasonable amount of time.


After painting on your pink stripe, immediately (but carefully!!) peel back each piece of tape. Do this slowly to create clean, even lines.
Let the pink polish dry completely. I told you you would need some patience! 
Read some articles on this website here while you wait! :)
You are totally welcome to stop after this step, because this is a super cute look!!


You need to wait until the pink is completely dry, because we will be covering that portion with the tape to paint the third stripe. If you feel like your hands are steady enough, feel free to skip this tape step and freehand the last stripe!
I lined up a piece of tape with the very top edge of the pink stripe as shown. Gently press the tape to your nail to seal the edge to create a clean line.


Use the darkest shade of polish you have left to create the last stripe. I used AEngland Briar Rose again for the tip.
I painted just a bit onto the tape to make sure I covered the whole nail tip. 
Slowly peel the tape off.


And Viola! This look definitely takes a little bit more time than you might be used to, because you have to wait before you can tape.
I think the result is really cute festive nails! I bet your date will be impressed! 
Or in my case, my coworkers & friends! ;)


Here is a view of the finished result!
If you like double accent nails (like me) you can add a small stripe onto your pointer or middle finger like I did here:


Just a little something extra!

What do you think of this look? What color combination will you use?
Try this look out and tag me on IG @possiblychrista I want to see your recreations!

Talk to you soon,
Christa


Tuesday, November 19, 2013

Thanksgiving Tutorial

It's time for another Tutorial!! With Thanksgiving only a week away I decided to recreate a manicure a friend posted on her Facebook after I showed you my halloween tutorial using JUST a Sharpie Marker!
That turned out to be pretty darn popular, so I am bringing you another tutorial using Sharpie markers.
LEAVES!
They are perfect for Fall and are definitely a lovely accent on your nails for Thanksgiving.


Lets get started!
I encourage you to try this even if you are nervous because Sharpie Markers are totally erasable on nail polish!!
I also have another Fall Tutorial HERE that is easy peasy!


First, I started by painting my nails 2 coats of a solid color. I chose OPI Vampsterdam. Any dark shade that compliments gold and bronze will do!
I have found that you don't always need to add a topcoat to make the Sharpie erasable. With a little elbow grease it will usually disappear.
Make sure you let the polish dry COMPLETELY!
(if you don't, you won't be able to rub off mistakes!)
:Patience, young grasshopper:


I used a 3 pack of Sharpies that I purchased at Target. It came with silver (not pictured) and bronze and gold colors. These will work perfect!


Using the Bronze Sharpie marker, I made a jagged outline at the top corner of my nail. This is the beginnings of a leaf!!


I then colored the leaf in. 
Remember: Sharpie is erasable! 
The metallic sharpies might need a little more muscle than a regular black sharpie, so I find that licking a finger and rubbing away or wetting a rag and wiping away works best!


Using the Gold Sharpie I created the outline for my second leaf in the bottom right hand corner of my nail. I made this one a little more spread out sideways.


Then I colored this leaf in too! They don't start to look like leaves until you add the veins!


Using a fine, black Sharpie I drew veins outward on my first leaf and across my second leaf.
You can create more leaves on your other nails or just leave the leaves on one nail!


Make sure to add a top coat to seal in your design!

I decided to make some other leaves. I did a couple different types on my other fingers. On my middle and pinky fingers, I created little leaves, while the leaves I showed you on my ring finger were slightly more complex. Experiment with different patterns!

Will you try this? What nail art tutorial would you like to see for Winter/Christmas?

Happy Tuesday!

Tuesday, October 22, 2013

Tips on Tuesday: Halloween Tutorial

Holy schmoley, I have been MIA lately. I have been trying to get my Halloween costume together this week and on the fly last night I decided to make another Tutu for my friend who is stationed in the Bahamas! I have changed my mind a million times on what to be for Halloween but I think I have finally settled it, we will see. I also got a new job and have been tying up loose ends before I move on. Anyway-- On to the Tutorial!

Recently, I asked you all on my Facebook: 
"I'm wondering: for those of you who do not attempt nail art at all (or often), I want to know why you don't?! Do you not have nail art tools or aren't comfortable or do tutorials seem too hard, ect.?"

Many of you mentioned that you don't have the tools for nail art, but just as many of you said you were afraid you don't have the skills. 
I LOVE nail art, and try to bring you easy tutorials/tips as much as I can and I try to go through each and every step, no matter how obvious it may seem!


So today-- I bring you the most foolproof/ mess-up proof nail art I can think of in an easy to follow tutorial for Halloween using an easy to find item!

SHARPIE MARKERS! 
Believe it, because they work. 
And this might be the only time a Sharpie Marker is erasable. 
Yup, you heard me! :)


First I started by painting both of my ring fingers a lime green. I used 2 coats of SH Xtreme Wear Green with Envy. 
I then painted the rest of my fingers with 2 coats of Wet N' Wild Who is Ultra Violet?


Any light shade green and purple will do. Actually--any light colors will do! All you want is for the black to show up. 
Now wait for them to dry, young grasshopper.
You absolutely, positively must wait for them to dry or you will dent the polish and ruin the Sharpie marker. And you will need that Sharpie Marker come Christmas when you need to tag gifts.

Once they are dry -- add a top coat. 
And then wait some more! Muhahahaha.
Sorry, not funny. 
This step is a must if you want your design to be erasable in case of mistakes.

Now, once they are completely dry (if you jumped the gun, I will wait while you start over hee hee), you can move on to the next step!


Whip out that Sharpie Marker!!
I used a Sharpie Pen with a Fine tip in black. I found mine at Target, but I bet you can find it at retailers like Walmart or any Office Supply store. 
The fine tip, will create thinner lines than a regular tipped Sharpie, however, you can also use the other kind too.


Now draw some lines in different lengths. It doesn't matter how many you can fit either! Draw one big one or a couple little ones -- it is all up to you!
The lines don't have to be straight or even, so no fretting. Mine are definitely not perfectly straight or even - and for Halloween stitches, you don't even want them to be either!


Add some "stitches" going across the other lines you just drew. You are basically just crossing T's here!


Add some more "stitches" to finish them out! I went over a couple of my stitches again to make them a little darker and thicker.
So here is the cool part:


If you mess up, or decide you don't like the stitch you made -- just wipe it away!!!
A couple of swipes over your nail with another finger, or simply the edge of a shirt or towel, will wipe the Sharpie right off. For any stubborn smudges or marks -- simply pop a finger in your mouth and rub it with some spit (or a bit of water) to wash it away.

This also means that once you finish your design, 
you have to put another layer of top coat to seal in the Sharpie.
I like to wait a couple of minutes to let the Sharpie marker dry/set before adding a top coat, so I don't smudge it.


I think this design looks super cute! Put stitches on just a couple of nails or on all your fingers!


Easy Peasy!
This design also shouldn't be too hard to do with your left hand, since we are just drawing regular lines and dashes. If you are worried, just remember, you can wipe it right off your nail and start over! :)

Will you try this? Have you used a Sharpie Marker for nail art before?

Happy Halloween my friends!

Tuesday, October 1, 2013

Tips On Tuesday: Fall Nail Art Tutorial

I have been trying to wish back summer, but October is upon us, so I better start facing the facts! A lot of you enjoyed my 4th of July nail art tutorial so I figured I would do an easy nail art tutorial for all different seasons and holidays. What do you think?! 


Tonight I will have an easy-peasy Fall nail art tutorial for you using the Saran Wrap Method. I promise it is really easy and anyone can do this!

Things you need:
1. A solid base color. I chose Julep Sylvia but any dark polish will work! Think navy blue or deep magenta or vampy purple!
2. A gold metallic polish for dabbing. I used Color Show Bold Gold. Gold screams Fall to me!
3. Saran Wrap
4. A Paper plate
5. A base (optional) and top coat. I use a SH Base coat and NYC In a NY Minute for a top coat. You can skip the base coat, but the top coat really smooths things out, so I recommend using one.

There are 2 ways to doing the saran wrap method. I like this way the best because it allows for more control over the polish that is dabbed on. 

First, prep your saran wrap! I like to pull out a piece the size of a sheet of paper and then I cut it into smaller pieces. You will need at least 2-4 pieces, about the size of your hand or palm.


Put the pieces of saran wrap aside and paint your nails with a solid base color.
I used a dark purple.


Now...the hardest part to this entire tutorial comes right after this part...
WAIT FOR IT TO DRY. 
I'm serious. 
Wait.
Patience, young grasshopper, patience.

Once your nails are dry you can get to the good part! Set up the rest of your materials! This is the part when you will need your paper plate, gold polish and saran wrap.
Start by crinkling your saran wrap up into a ball.


Roll it up into a nice little ball, and then drip some gold polish onto your paper plate.


Once you drip the polish onto the paper plate, make sure to hold your saran wrap ball tightly between 2 fingers.


Depending on how tightly you wrapped the ball, will depend on how big the splotches are on your nails. I like to wrap mine up a little bit tighter to get more precise splotches.


Once you have decided on how you want to hold your saran wrap ball, dip it into the polish on the paper plate.


I like to stamp my saran wrap ball around the plate a little bit because I don't want a huge glob on polish on my nail. I want to make it look more delicate-like. I drew an arrow to one of my ideal splotches. Once I see this, I dab onto my nail.
Once you stamped your saran wrap around a bit, dab it directly onto your nail.


Dab onto each nail a couple of times until you are satisfied with the look! Sometimes you can get a couple of dabs before you have to dip the ball into the polish again. And if you end out not liking the splotch, don't be afraid to shift the saran wrap around and try another side of the ball. When the saran wrap gets too covered in polish, crinkle up another one of your pieces and start a new ball!


Seal the design in with a top coat and you have a perfect Fall manicure with a cool technique! I love using this technique and have used it over and over with a variety of different shades. Don't be afraid to experiment!

Will you try this? Have you ever used items commonly found around the house for nail art? Tell me in the comments -- I will definitely be trying out your tips & tricks!


Tuesday, August 27, 2013

Tips On Tuesday: Polish Revival

One thing I am glad about with the cool weather coming is less goopy nail polish! When the weather is nice, I love to paint my toes outside by the pool or on the porch. But the heat always causes my polish to thicken up, which makes it harder to work with. 

Just recently, I bought my first bottle of Poshe Polish Reviver from Ulta to thin one of my polishes that had thickened up. Polish thickens up for a lot of reasons. Sometimes I have a brain fart and leave a bottle of polish slightly uncapped on my desk overnight. It happens. 
Other times, it is a favorite polish for nail art and I am always opening and closing it. Or it is just an older polish that has been sitting for awhile. Whatever the reason, a polish thinner will definitely liven it back up! Don't ever use nail polish remover to 'thin' a polish! It will ruin it!


This is the Poshe Polish Reviver I picked up. I had never thinned a polish before, despite having several that needed it, so I followed the directions on the back!


I grabbed the Poshe Reviver and Essie In the Cab-ana that had gone goopy on me.


All I had to do was uncap the polish, clean the neck of the bottle, and drop 1-2 drops into the bottle. Because this was my first time I started with 1 drop and checked the consistency before adding more drops. I used 2 drops in this polish.


After adding the Reviver, I rolled the polish between my hands. I did give it a couple good shakes to make sure the Reviver was fully distributed in the bottle.

The polish was good as new after and had a much better consistency than before. I have been using this to thin several of my polishes. I even used it on an NYC Top coat that had thickened up as I got down to the bottom of the bottle. It didn't change how fast or clear the top coat dried and worked perfectly to thin it up. I am pretty happy that I picked this up, because I definitely would not want to throw out a polish when I can use a thinner to make it easier to use!

Have you ever used a polish thinner before? Do your polishes tend to goop up on you in the summer?

Happy Tuesday!


Tuesday, July 9, 2013

Tips on Tuesday: PVA Glue

I have mentioned PVA glue a couple times on here and I know some of you readers are just itching to try it!
If you haven't heard of it before, PVA glue is simply Elmer's glue or any white craft glue. When painted on your nails it creates a peel off base coat that works perfectly with, you guessed it, GLITTER!
Now I think it is difficult to work with unless I use a brush to paint it on so this is what I did to get my PVA glue set up.


First you will need to gather your supplies: Acetone, a bottle of Elmer's Craft Glue and a bottle of clear polish. I used an almost empty bottle of clear that had pretty much died by this point.


I forgot to picture the cup above, but you will need something to empty the left over clear polish into for easy disposal, like a cup, a bag, maybe a garden...
 DO NOT pour any polish down your mother's sink. I don't want any phone calls!


Pour as much of the polish out of the bottle as you can.


Once your bottle is empty, fill it part way with Acetone. Do this outside in case you spill like I did. Acetone WILL eat things!


Once you have some Acetone in your bottle, gently roll the bottle around in your hands. You want the acetone to eat any left over polish in the bottle. I then poured out the acetone and rinsed the bottle out with water. If there is a white filmy residue left over: repeat this step again!


Pour a little acetone into the cap and make sure to rinse the polish brush so the bristles are soft (not crusty).


I dried the inside of the bottle with a Q-tip to soak up most of the water in there before adding the glue.


Squeeze the glue into the bottle and fill it up almost to the top!


Stick your brush in there!


You are now ready to paint your nails with the glue! Add a thin coat to all of your nails. Make sure you don't put it on too thick!


Wait for them to dry.


Keep waiting until they are completely clear! Now you are ready to paint!


Add 2 coats of your favorite glitter bomb! I picked my nails off at work so unfortunately, I don't have any photos of them, but once you start peeling, they will all come off usually in one sheet! Super easy glitter removal!

Weekend project?
Happy Tips on Tuesday!